Processing Credit Card Transactions in AmigoPOS using integrated processing
1. Select The Payment Type
To begin a credit card transaction, select the order on the main screen and press the SETTLE CREDIT payment button.

2. Select The Action
Select the card entry method to start the transaction.

3. Swipe The Card
Swipe the customer card. If the card is swiped without an error, skip the next three steps and refer to Waiting For The Transaction Results. If the card cannot be swiped, the card number and expiration date must be entered manually, as described below.
")
4. Waiting For The Transaction Results
AmigoPOS will send the transaction request to the payment processor. The time remaining before a timeout error occurs is displayed on screen. If using IP processing, the transaction should be completed in under 10 seconds. Dial-up processing can take over 1 minute. If a timeout error occurs, a red error screen will appear. A timeout error most likely indicates that a local network or internet disruption has occurred. AmigoPOS will display a successful transaction with a green background, an unsuccessful transaction with a red background, and a duplicate or partial auth transaction with a yellow background. The transaction can be immediately captured or adjusted by pressing the Add Tip (or Capture) button.

5. Completing The Transaction
Note
that every Pre-Authorized transaction must be captured, even if the gratuity
is zero.
To add a gratuity, press the ADD GRATUITY button. If the ADD GRATUITY button is not visible, press the down arrow under the transactions button group until the ADD GRATUITY button appears.

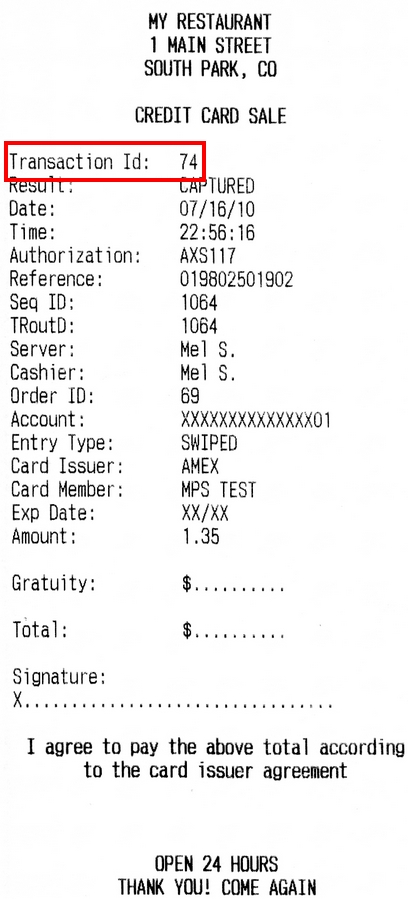
The Transaction ID can be found at the top of the signature slip, directly under the transaction type.
Select the transaction or enter the transaction id using the on-screen number pad and press the green button to continue.

Enter the gratuity amount and press the ADD GRATUITY button to complete the transaction.

6. Confirmation
When viewing orders after pressing the Settle button on the start screen, orders that have been pre authorized but not yet captured appear with a red button. Ensure that all pre-authorized transactions have been captured before the End of Day procedure is performed. The setting that prevents running the End of Day if open PreAuth transactions exist will ensure that a gratuity is added to each PreAuth in the current batch before the End of Day can be run. The Confirm End of Day button remains disabled until all open PreAuth transactions have been captured.
Any Pre-Authorized transaction that is not captured will not be added to the batch and will become invalid after a period of time determined by the payment processor (generally less than a week).

7. Duplicate Transaction Alert
When processing a Sale transaction on the same card for the same amount on the same business day, the payment processor may return a 'Duplicate Transaction' message to alert the user that a duplicate transaction already exists in the batch. After confirming that it isn't a duplicate transaction, press the OVERRIDE DUPE button. Otherwise, press the CANCEL button to return to the order details.

8. General Transaction Error
Any response received from the payment processor that indicates an error condition will appear on a red background to alert the user that an error has occurred. Review the error description and take appropriate action before retrying the transaction. Common errors include invalid card number, expired card, bad swipe, or transaction declined.
