Installing an Epson TM-T88 Series USB interface printer requires the Epson Advanced Printer Driver (APD), available at http://www.epsonexpert.com. The driver must be installed before connecting the printer. If you inadvertently connect the TM printer to the computer before installing the APD, delete the corresponding port driver and then, without connecting the TM printer, reinstall the printer driver. The following images are taken from APD version 4.56 installation.
Note: When using a serial, ethernet or parallel port printer, the APD is not required. Install the printer normally using the Windows Add Printer wizard with generic/text only drivers.
1. Disconnect the printer from the pos station
2. Download and unzip the driver installation package from http://www.epsonexpert.com. Run the file named APD_456E.exe. Choose Standard installation when prompted.
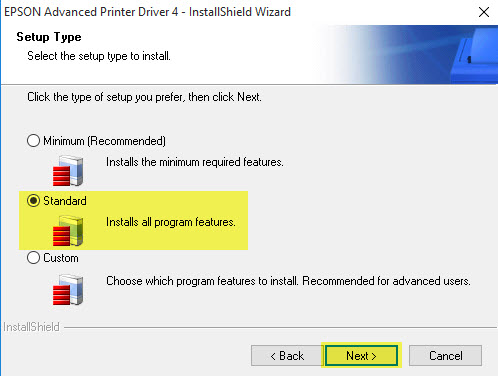
Specify the Setup Type
3. Click Next on the Printer Configuration screen. The printer will be automatically configured later using Windows Plug & Play.
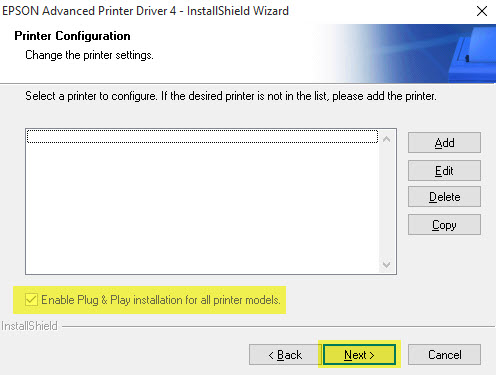
Printer Configuration
4. Click Next to begin the installation.
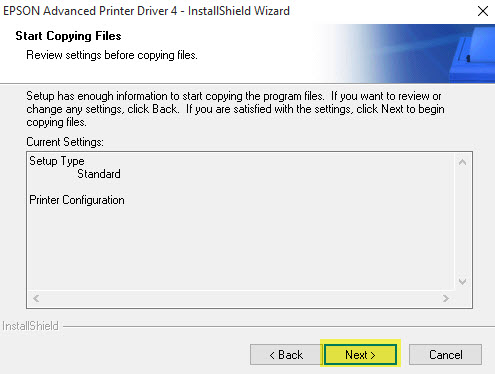
Begin Installation
5. The installation will take approximately 5 minutes. Do not interrupt the process or use other programs while the installer is running.
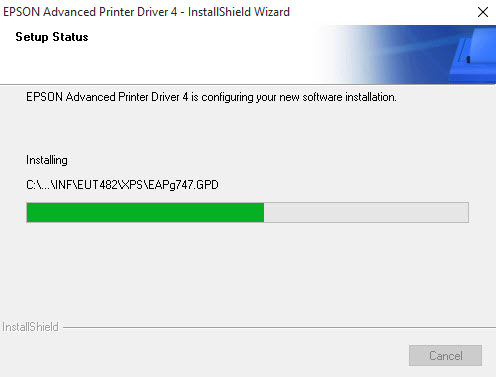
Installation Progress
6. Click Finish to exit the installer.
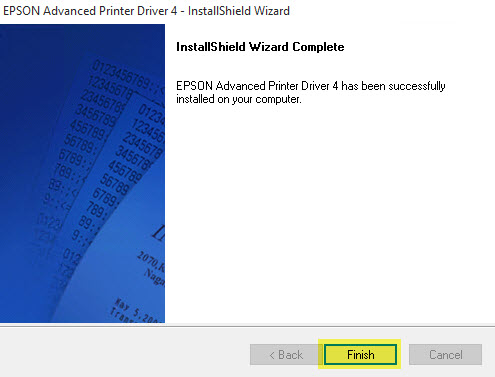
Installation Results
7. Connect the printer to a free USB port on the POS station and power on the printer. The Windows Found New Hardware prompt will appear on the taskbar near the clock. After a few moments, the new printer is automatically added to the Devices and Printers folder.
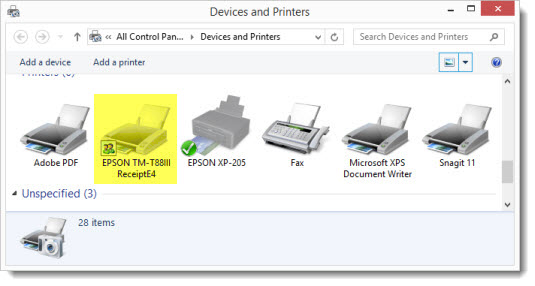
Windows 8 Devices and Printers Folder
8. In AmigoPOS, navigate to Back Office | Settings | Devices and select the printer name from the drop-down list. Select the Epson printer type and click the Test Receipt button to confirm that the printer is installed correctly.

Back Office | Settings | Devices
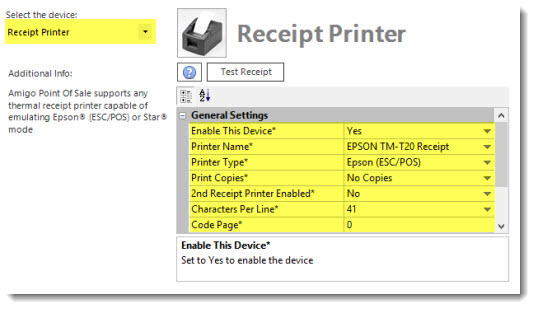
Receipt Printer Configuration